Managing orders efficiently is a crucial part of any business operation, especially in the fast-paced world of hospitality and retail. The Order Entry System settings allow you to customize how orders are processed, giving you control over the entire order workflow. Below, we will walk you through the various options available under the Order Entry System, as seen in the attached images.
Table of Contents
- How to Access Order Entry System Options
- Swipe to Open Order
- Order Type Selection
- Default Order Type
- Default to New Order
- Force Modifiers Screen
- Global Modifiers
- Default Screen After Split
- Default Promised For Time
- Custom Item Tax
- Show Prices on Menu Items
- Default Delivery Address Zip
- Default Menu
- Reset Order Number Daily
- Order Number Limit
To access the Order Entry System Options, follow these simple steps on your POS system:
- Go to the Main Menu.
- Select Settings.
- Navigate to System Options.
- Click on the Order Entry tab.
Once you’re on the Order Entry tab, you’ll have access to a variety of settings to customize your order workflow.

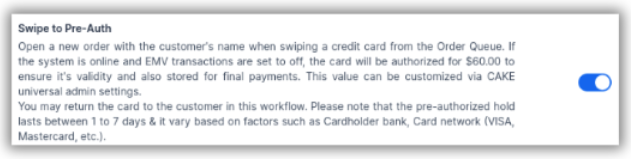
This option allows the system to open a new order with the customer's name when swiping a credit card from the Order Queue. After swiping the card, you can return the card to the customer, and the pre-authorized hold will last between 1 to 7 days, depending on the cardholder's bank and card network (Visa, Mastercard, etc.).
- Requirements: If the system is online and EMV transactions are disabled, the card will be authorized for $15.00 to verify its validity and stored for final payments.
- Custom Pre-Authorization Amount: The $15.00 pre-authorization value can be customized via CAKE Admin Portal Settings, under the Payments tab. Read this article to learn more.
When enabled, this option forces staff to select an order type (e.g., dine-in, take-out, delivery) before proceeding with a new order. It helps in ensuring that each order is categorized correctly.

This feature allows you to set a default order type, which is used when "Order Type Selection" is turned off. For example, if your business primarily handles dine-in orders, you can set "Dine-In" as the default.
- Changing the Order Type: Although a default order type will be set, you can update the order type by selecting the Edit button at the top of an open order, then selecting the arrow to the left of the order type.

Enabling this setting ensures that after completing one order, the system will automatically start a new order. This setting is ideal for quick-service environments where staff need to move quickly between customers.

This forces the modifiers screen to appear if an item has modifiers (e.g., adding toppings or selecting exceptions on a dish).
- Apply To Items Without Modifiers: Additionally, you can apply this feature to items without modifiers if needed; Global Modifiers can be added to the item. This is helpful for ensuring no customizations are missed during the order process.

Global Modifiers allow you to apply common modifiers across all menu items. For example, if a guest can add "extra sauce" to multiple dishes, this option enables the modifier to be easily added across all items on the menu.


When an order is split into multiple parts (e.g., splitting a bill among guests), this setting lets you choose which screen the system should display once the split is completed. You can choose between the Original Order screen or the Order Queue screen.


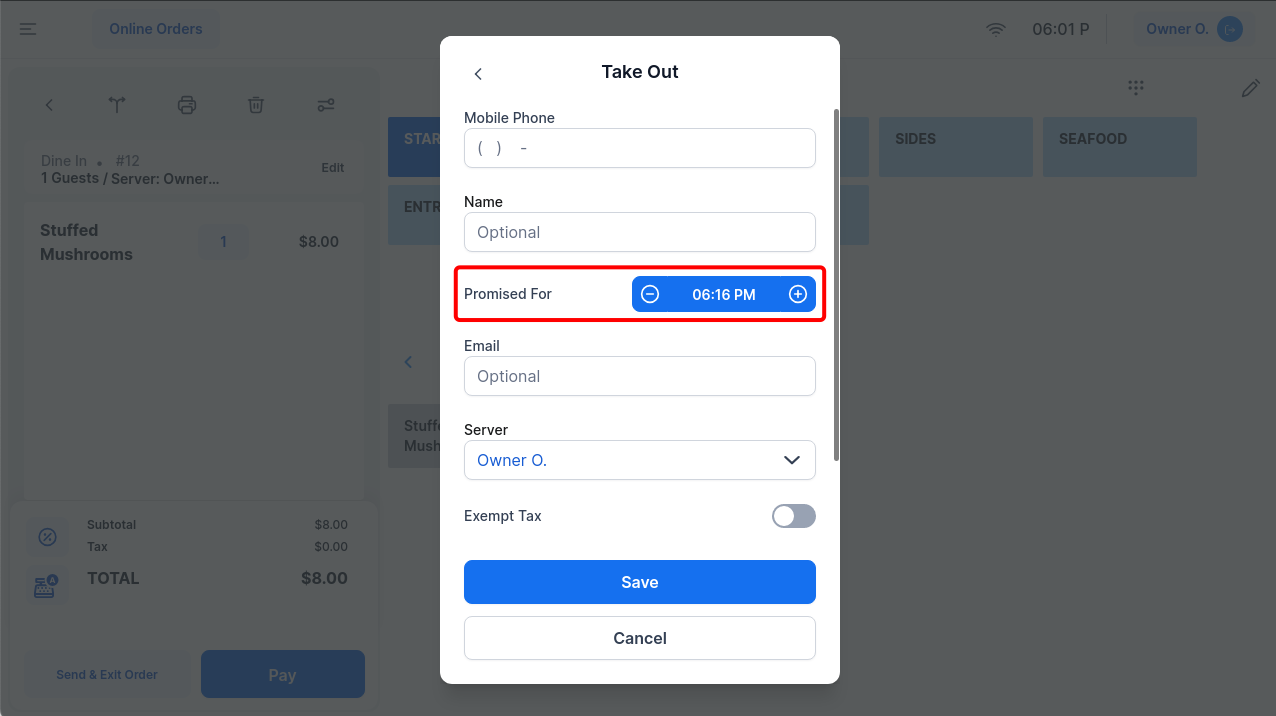
Set a default preparation time for orders. This is especially useful for take-out and delivery orders. For example, you can set the system to automatically promise that orders will be ready "10 minutes from the current time," which you can adjust by clicking the pencil icon.

This option ensures that any custom items added through the keypad (items that are not part of the regular menu) will have a default tax applied to them. You can turn this feature on or off depending on your tax requirements.

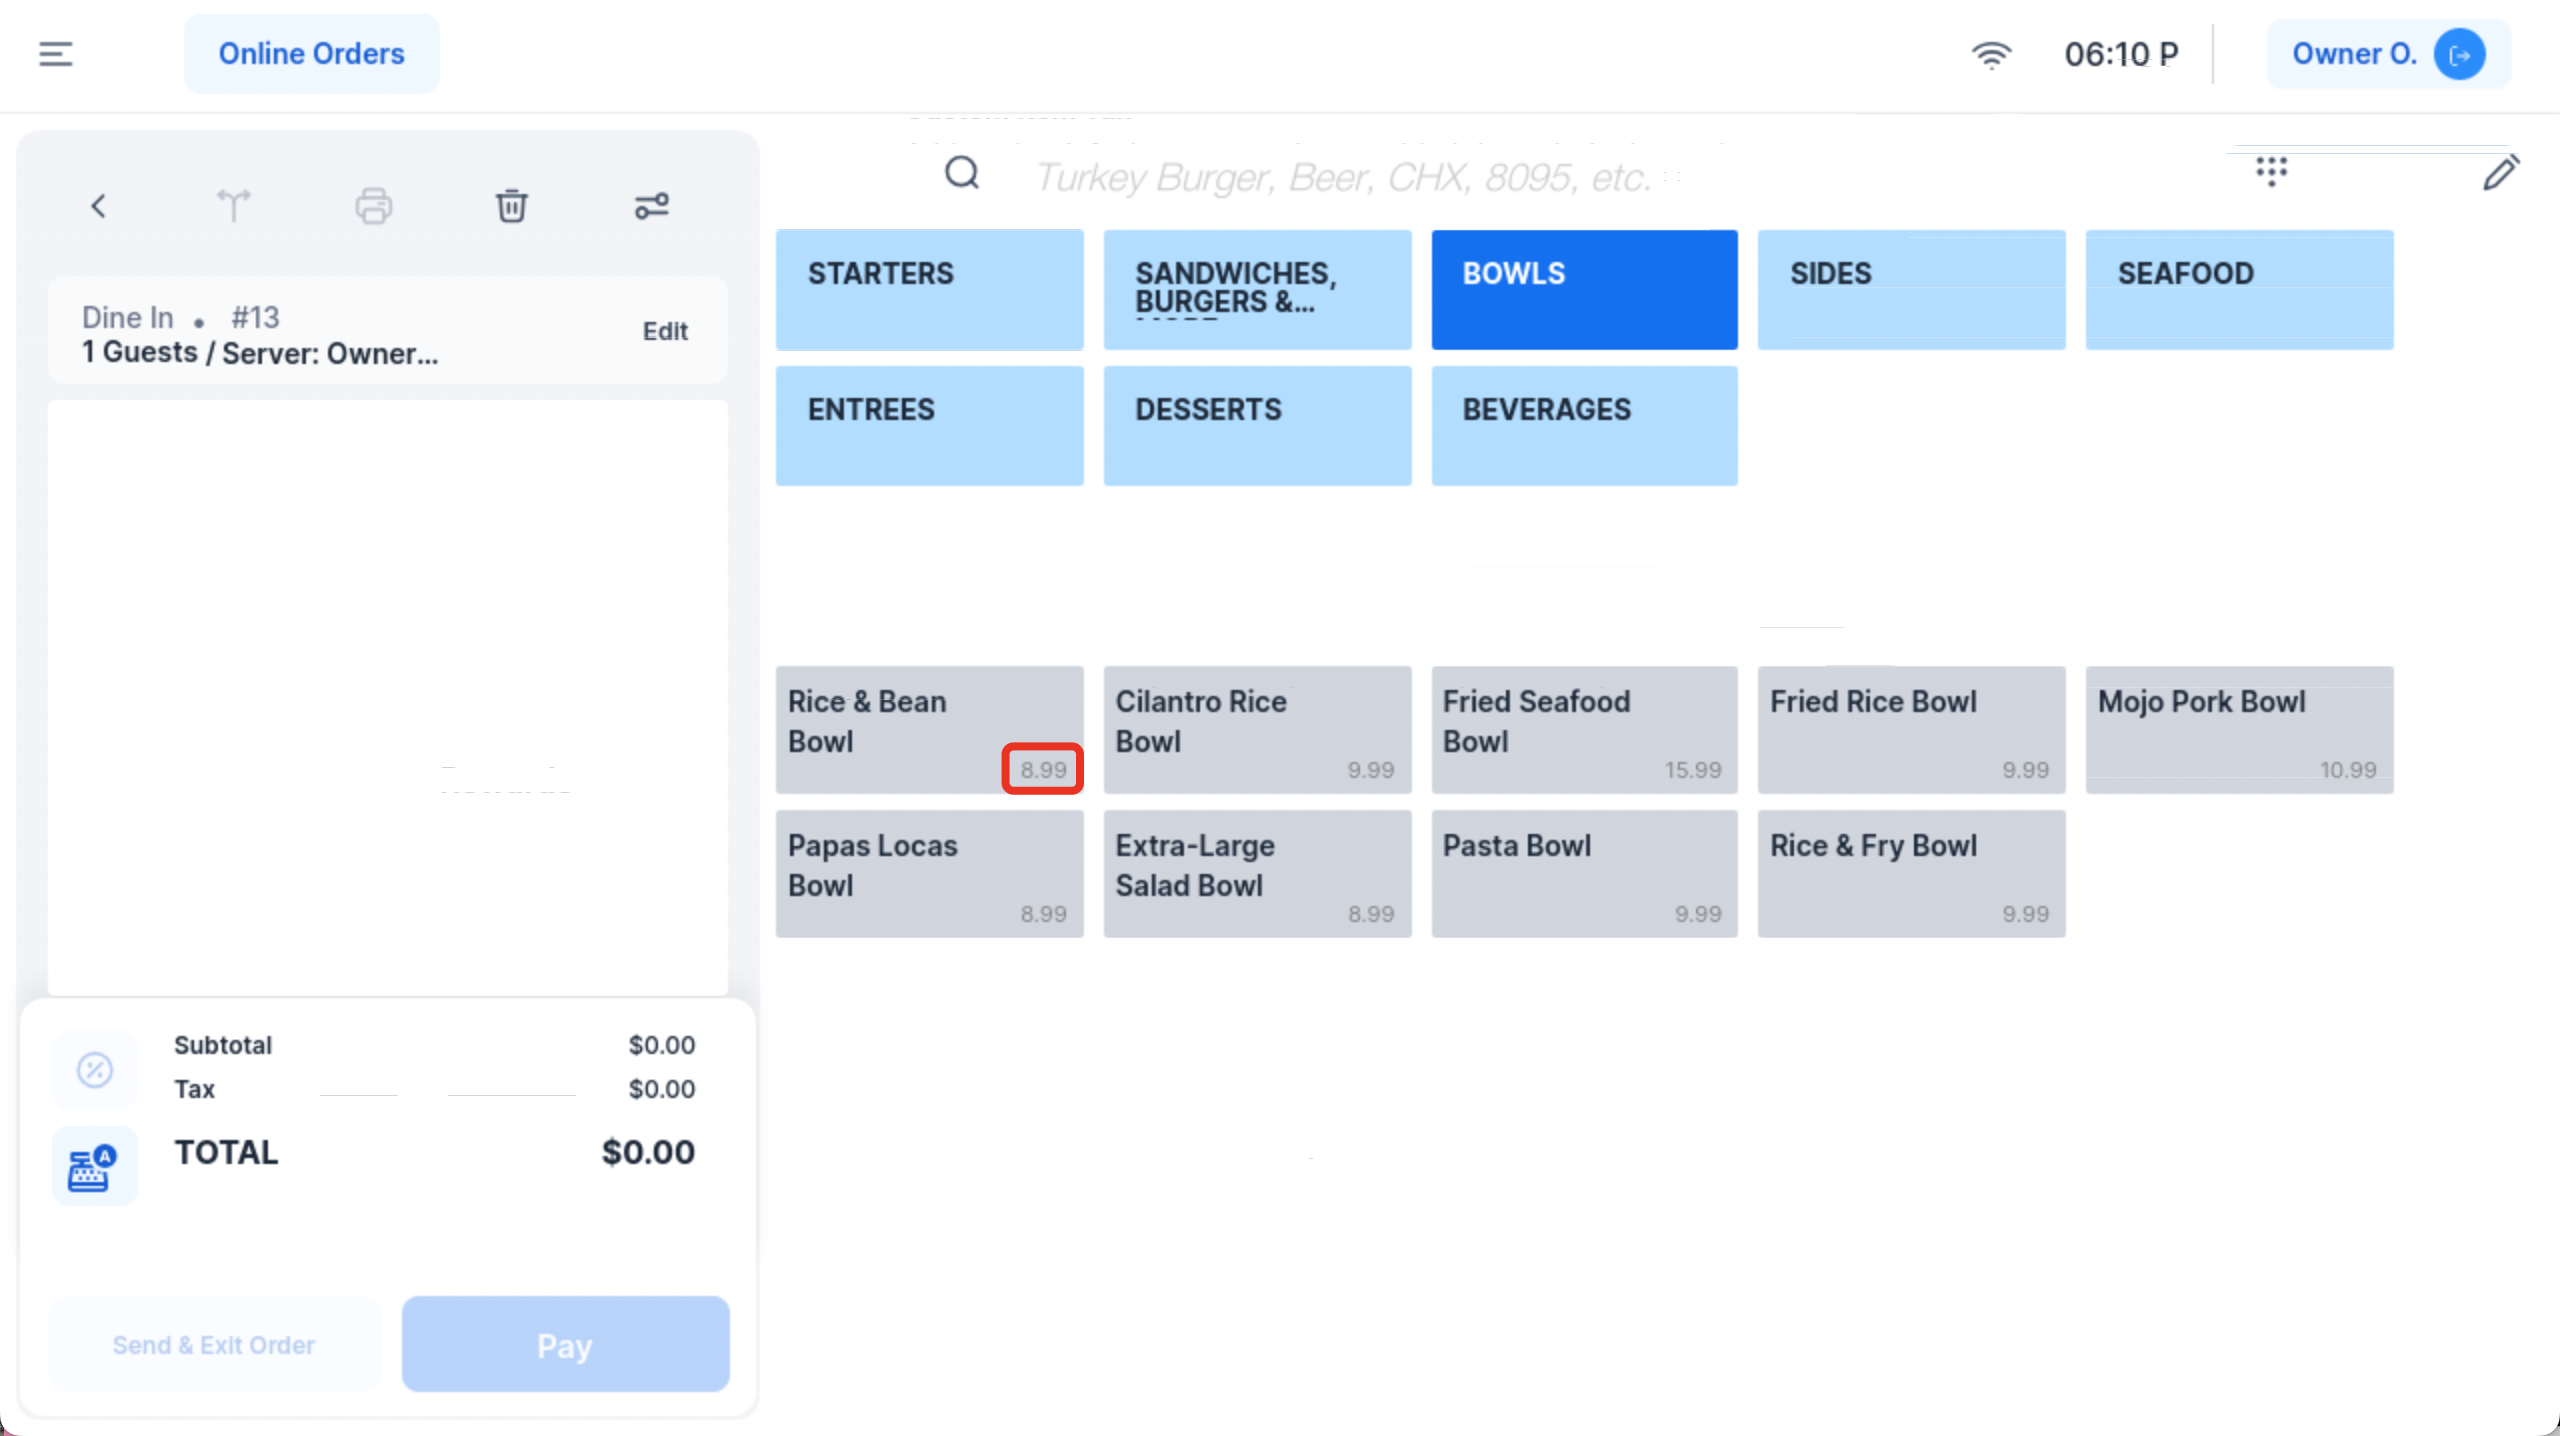
This toggles the visibility of prices on the ordering screen. When enabled, staff will see prices next to the menu items, which can be useful for upselling or quickly confirming item totals.

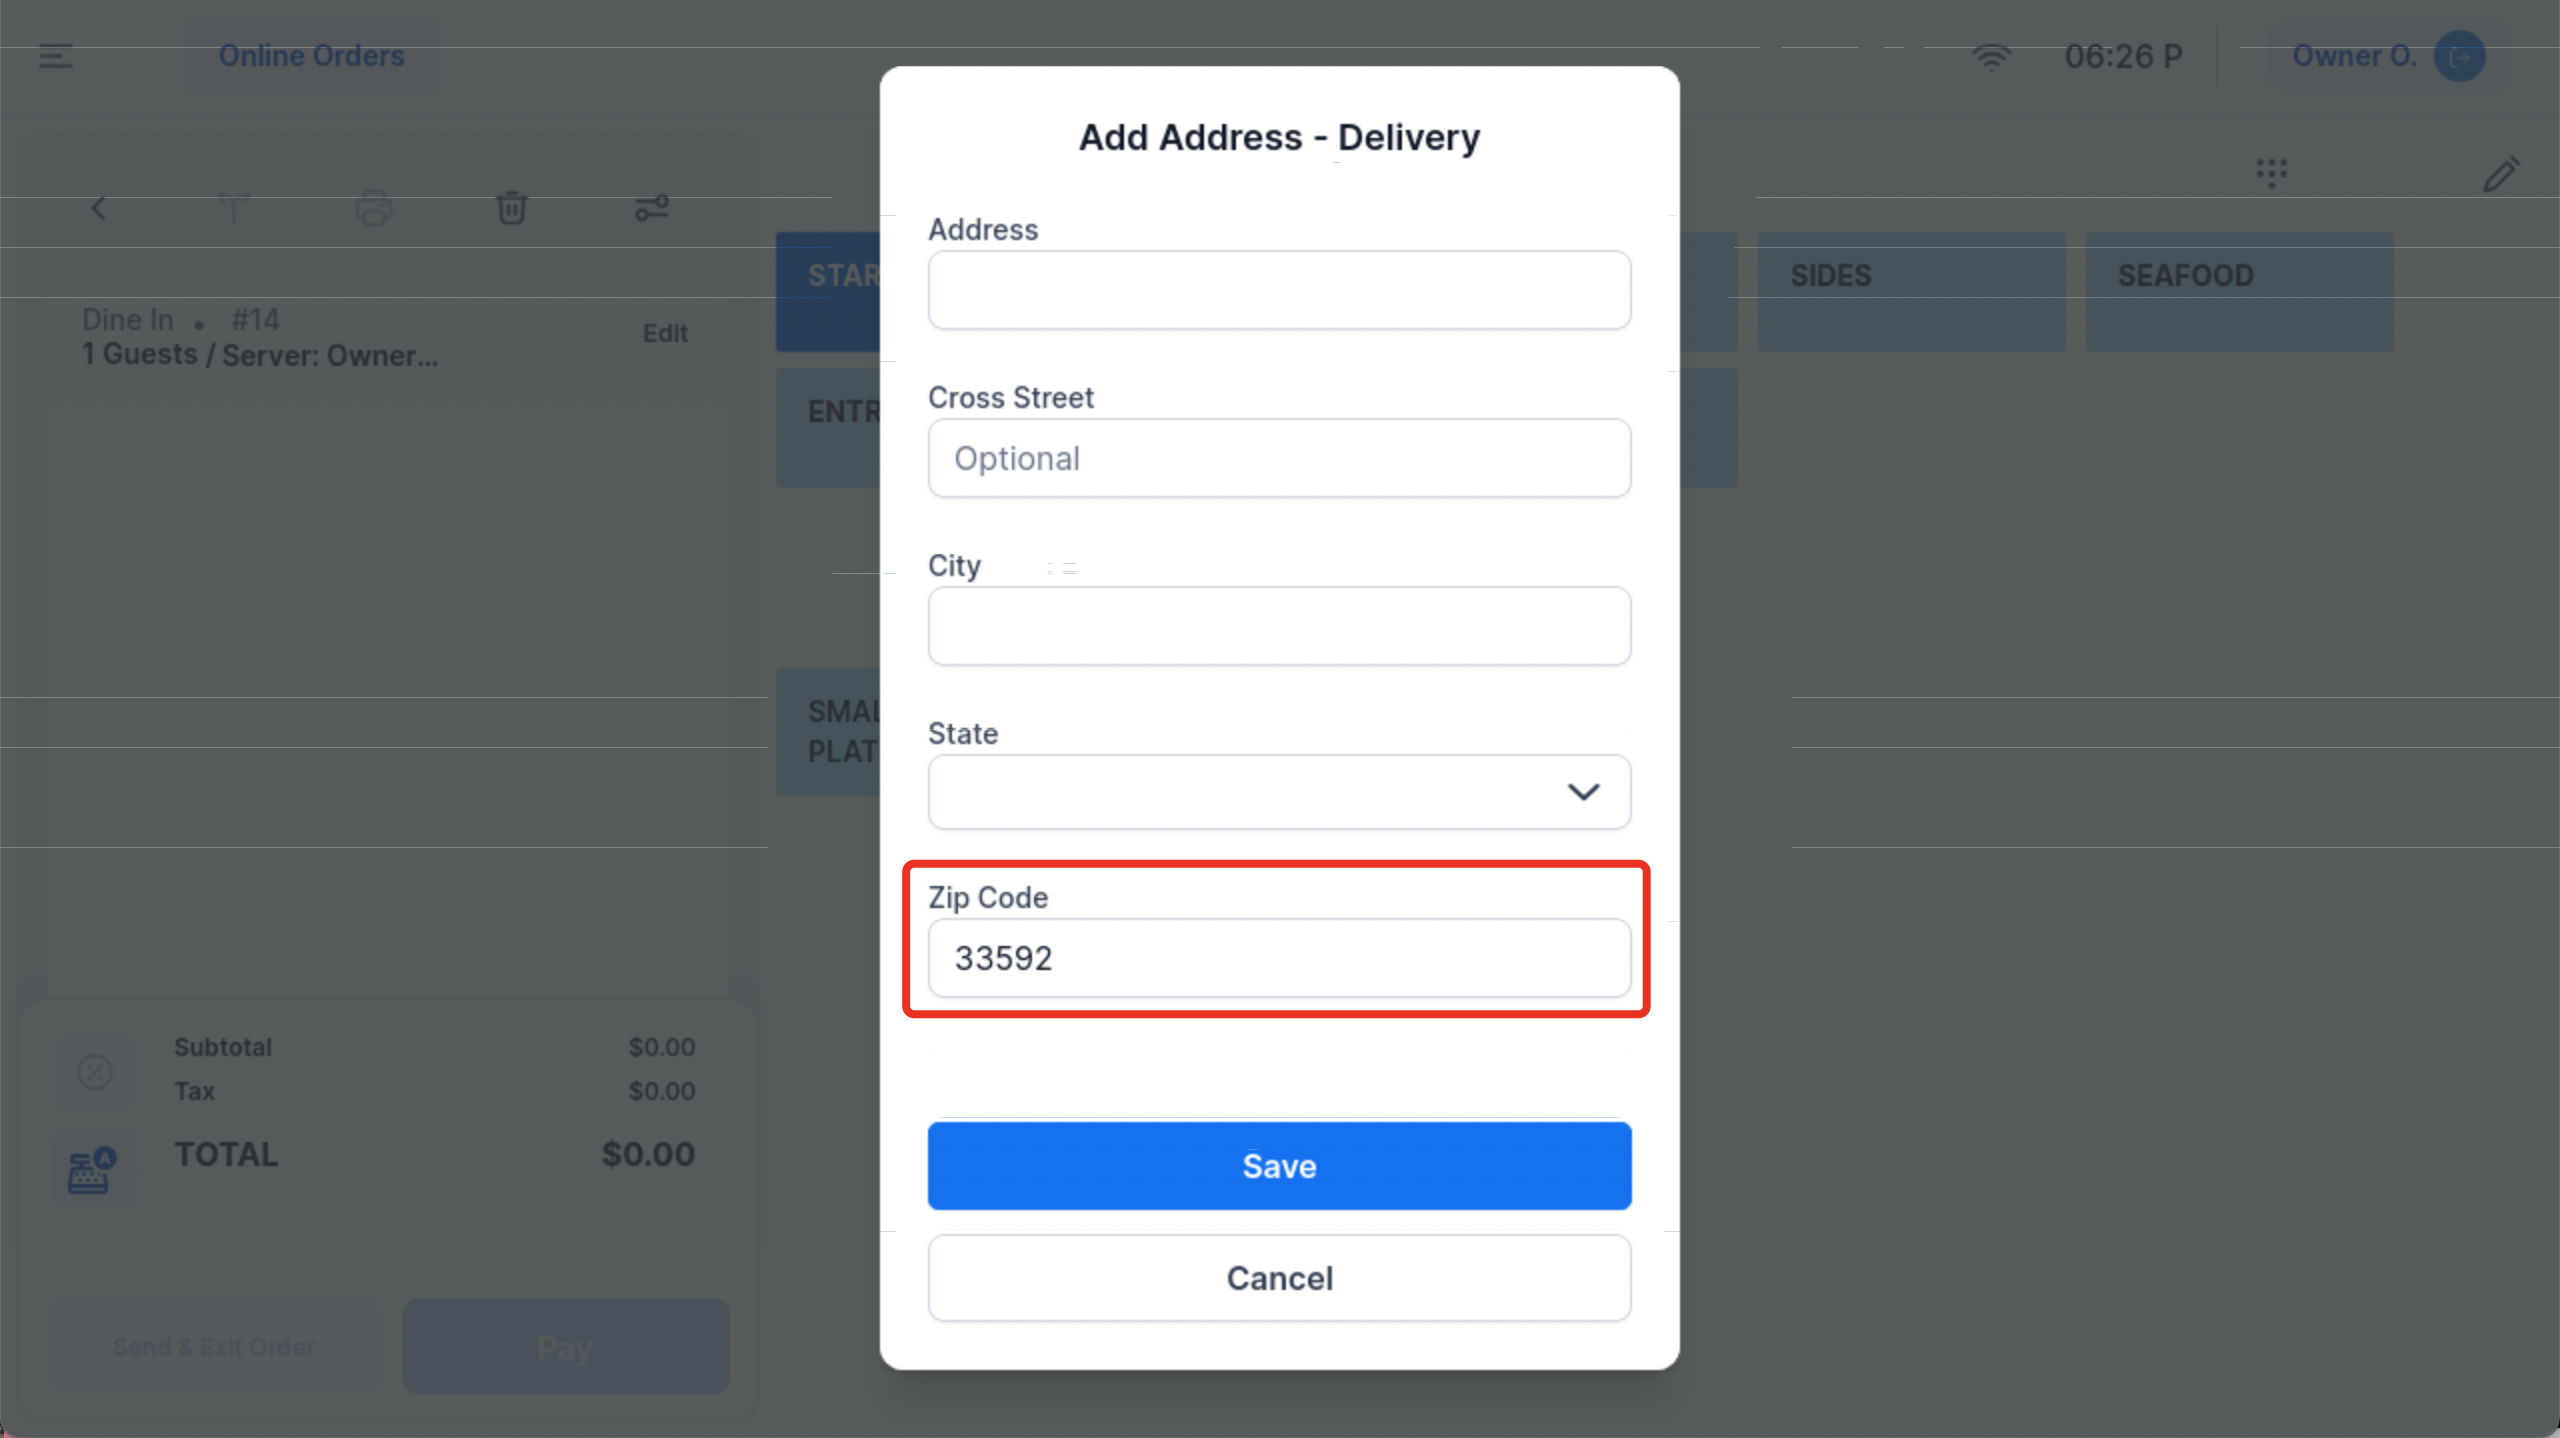
This setting allows you to configure a default zip code for delivery addresses. This is helpful if your business operates primarily within a specific area, minimizing the need for manual entry.

With this option, you can set a default menu that will appear whenever the staff navigates to the order screen. This is useful for establishments that offer different menus depending on the time of day (e.g., breakfast, lunch, or dinner menus).

When activated, the POS order number will automatically reset at the end of each day. This is helpful for tracking daily sales or preventing the order numbers from growing too large over time.

This feature allows you to set a maximum order number limit. Once the system hits this limit, it will automatically reset the order numbers. This can help keep your order records manageable.

The Order Entry System is a powerful tool for customizing how your establishment handles orders, from selecting order types to managing modifiers and even setting default tax rules. By configuring these settings to match your workflow, you can streamline the ordering process, reduce errors, and provide better service to your customers.
Make sure to periodically review and adjust these settings to reflect any changes in your business operations, such as adding new menu items or offering new services like delivery.
The next article we recommend reviewing: Table Service Settings