This guide explains how to configure and manage Tables, Default Zones, Guest Count, and Seat Positions in your Point of Sale (POS) system. These settings help you streamline operations, enhance order management, and create an efficient workflow for your servers.
Table of Contents
- Accessing Table Service Settings
- Table Service Setting Options
- Quick Reference Table
- Best Practices
To access the Table Service System Options, follow these simple steps on your POS system:
- Go to the Main Menu.
- Select Settings.
- Navigate to System Options.
- Click on the Table Service tab.
Once you’re on the Table Service tab, you’ll have access to a variety of settings to customize your table layout workflow.
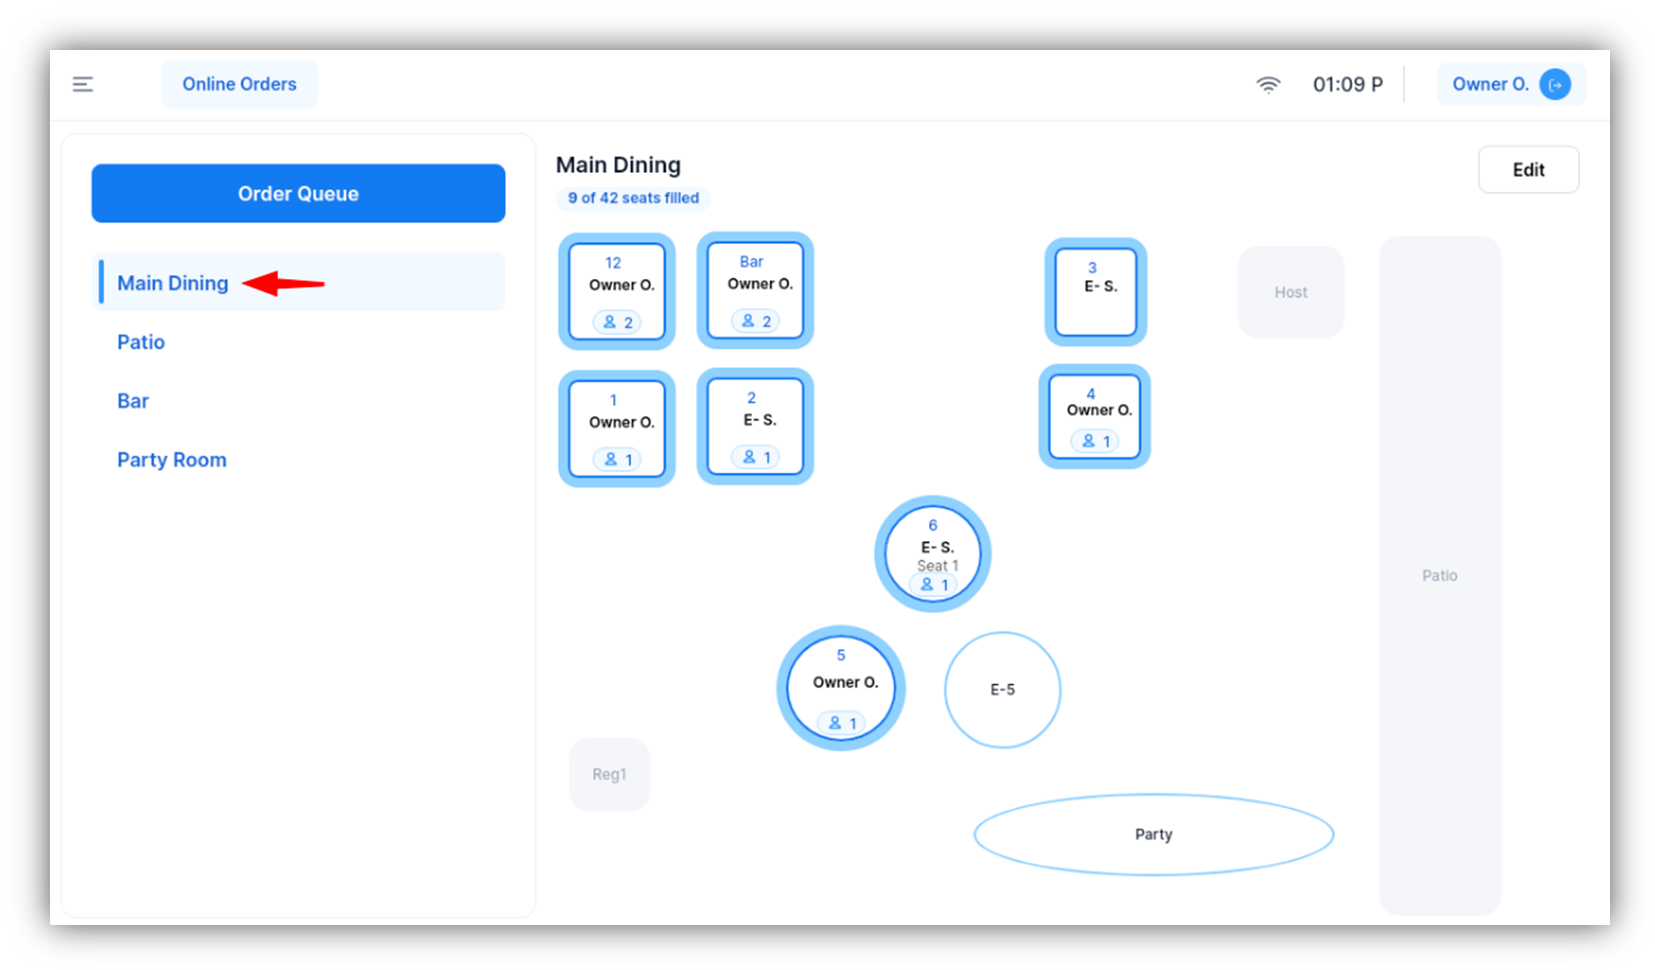
1. Tables
When enabled, the Tables tab is added to your Main Menu, allowing your POS system to display and manage tables in your restaurant. With this feature turned on, you can easily assign orders to specific tables and manage guest seating, streamlining table service and improving efficiency.
- Note: If you disable "Tables" in the system settings, the option will no longer be visible on the main menu.

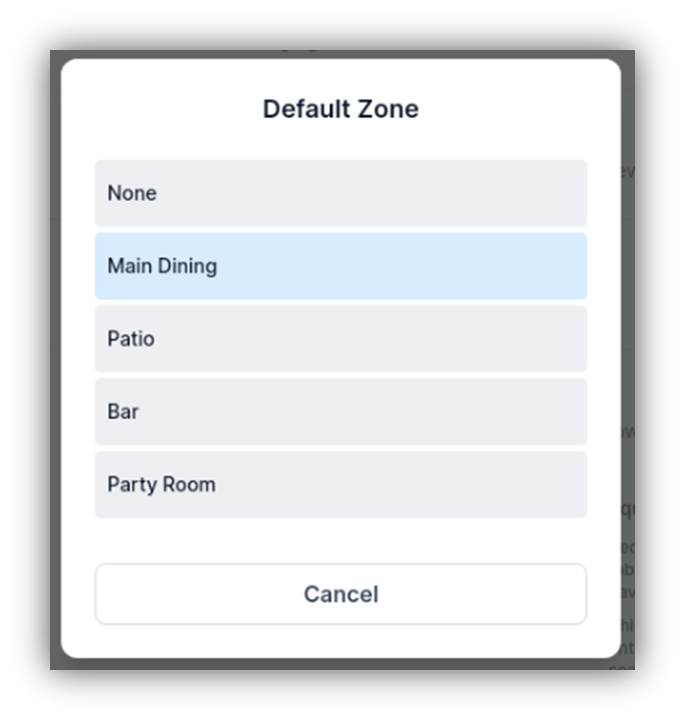
2. Default Zone
Setting a Default Zone determines which zone appears first when you access the Tables tab on the POS system. This ensures that every time you sign in, the POS automatically opens to the selected zone, making it easier and faster for servers to get started.
- Zones represent different areas of your restaurant, such as Indoor Dining, Outdoor Patio, or Bar Seating. If you haven’t set up Zones yet, check out the System Options: Zones guide for step-by-step instructions.

3. Guest Count
When enabled, Guest Count prompts servers to input the number of guests at a table before placing an order. This feature can help with accurate reporting and service.
- Important Note: Enabling Seat Positions disables the Guest Count feature. This is because the system will prompt you to assign guests when adding menu items (details below).


4. Seat Positions
When enabled, Seat Positions let servers assign specific menu items to individual seats at a table. This enhances the accuracy of food delivery and helps servers keep track of guests' orders.
- Options for Adding Seat Positions:
-
- Add As You Go: Servers can add seat positions while taking the order.
- Add All at Once: All seat positions are pre-assigned before taking the order.
- Modifiers and Seat Positions: If an item has a modifier (e.g., "extra cheese"), the Seat Position will be displayed as part of the modifier options.
- Note: When Seat Positions are enabled:
- Guest Count is automatically disabled, as servers will input seating information when adding menu items.
- Seat Positions can be toggled as optional or required, depending on your operational needs.
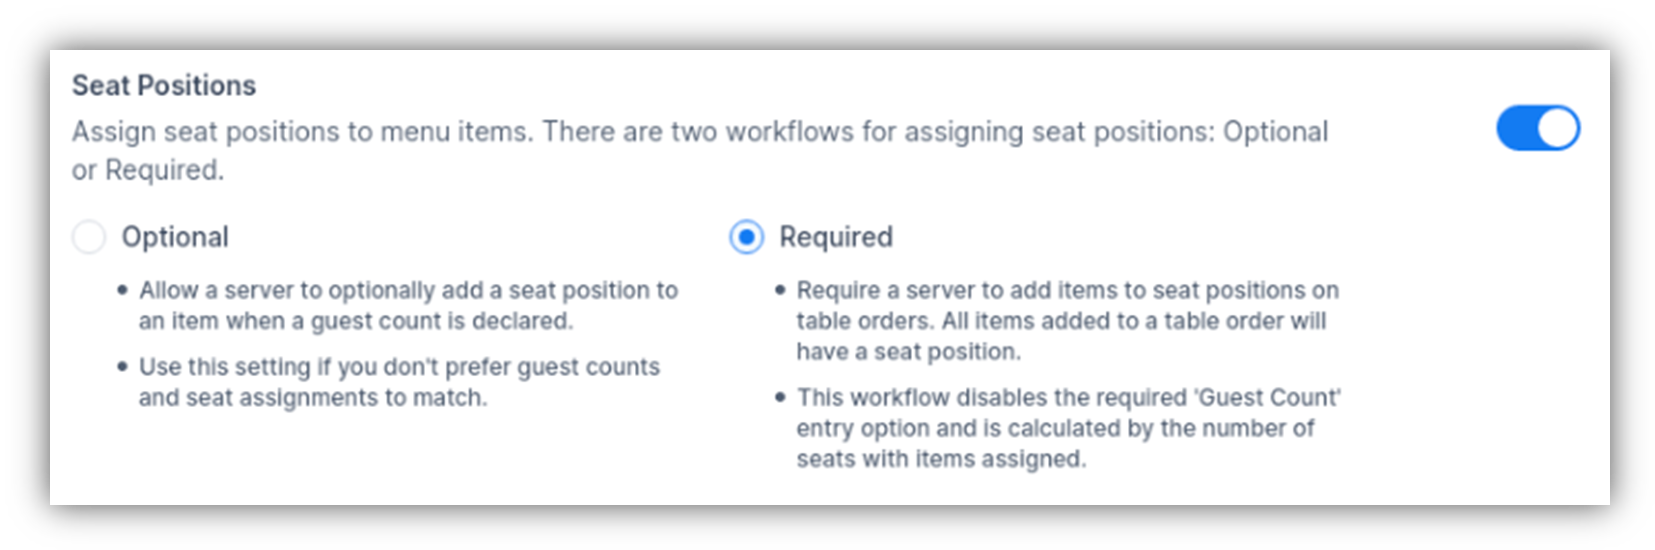
Optional:

Required:

| Feature | Functionality | Notes |
|---|
| Tables | Enables table management for orders and seating. | Disabled tables will not appear in the main menu. |
| Default Zone | Sets the zone displayed first upon logging into the POS. | Helps streamline the workflow for servers. |
| Guest Count | Requires servers to input the number of guests before placing orders. | Automatically disabled if Seat Positions is enabled. |
| Seat Positions | Allows assignment of menu items to specific seats. | Can be set as optional or required; disables Guest Count when enabled. |
- Configure Default Zone to match your establishment's busiest section for faster service.
- Use Seat Positions for better tracking of orders, especially for large parties.
- Enable Guest Count for simpler setups without individual seat assignments.
- Regularly review your settings to ensure they align with your operational needs.
Customizing Tables, Default Zones, Guest Count, and Seat Positions in your POS system streamlines service, improves order accuracy, and enhances efficiency. For further help, contact CAKE support via phone at (352)722-2253.
Review Sending Settings Next
Return to System Options Overview