Once your POS terminal completes the network test, you'll land on the Welcome screen. Here's how to activate your system:
1. Select Get Started
Tap Get Started to begin the onboarding process.
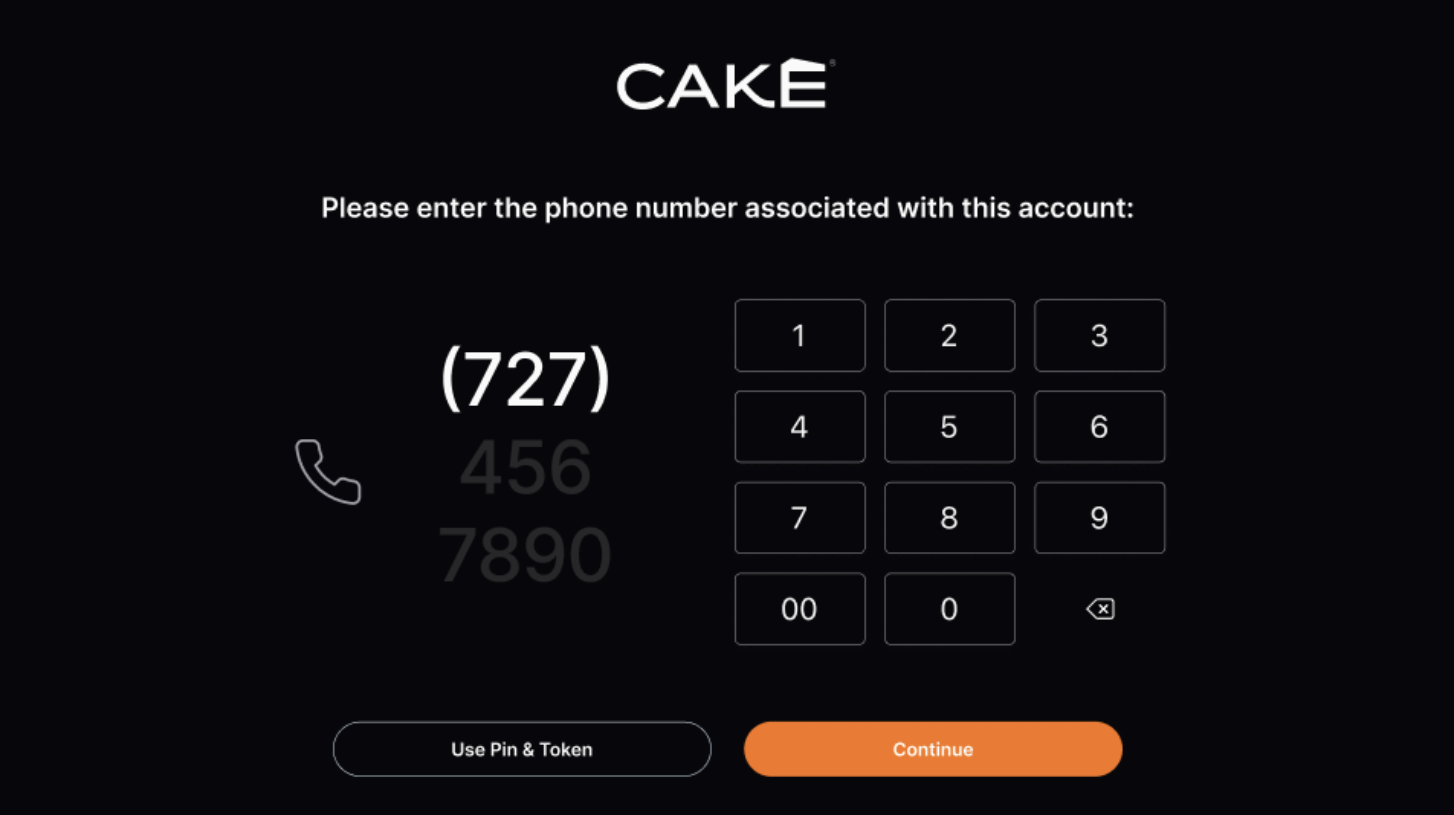
2. Enter Your Phone Number
Enter the mobile phone number linked to your account and tap Continue.
Having trouble with your phone number? Prefer to use the Pin and Token method instead? Just tap the “Use Pin & Token” button on the screen. For step-by-step instructions, click here to learn how to retrieve your activation details.
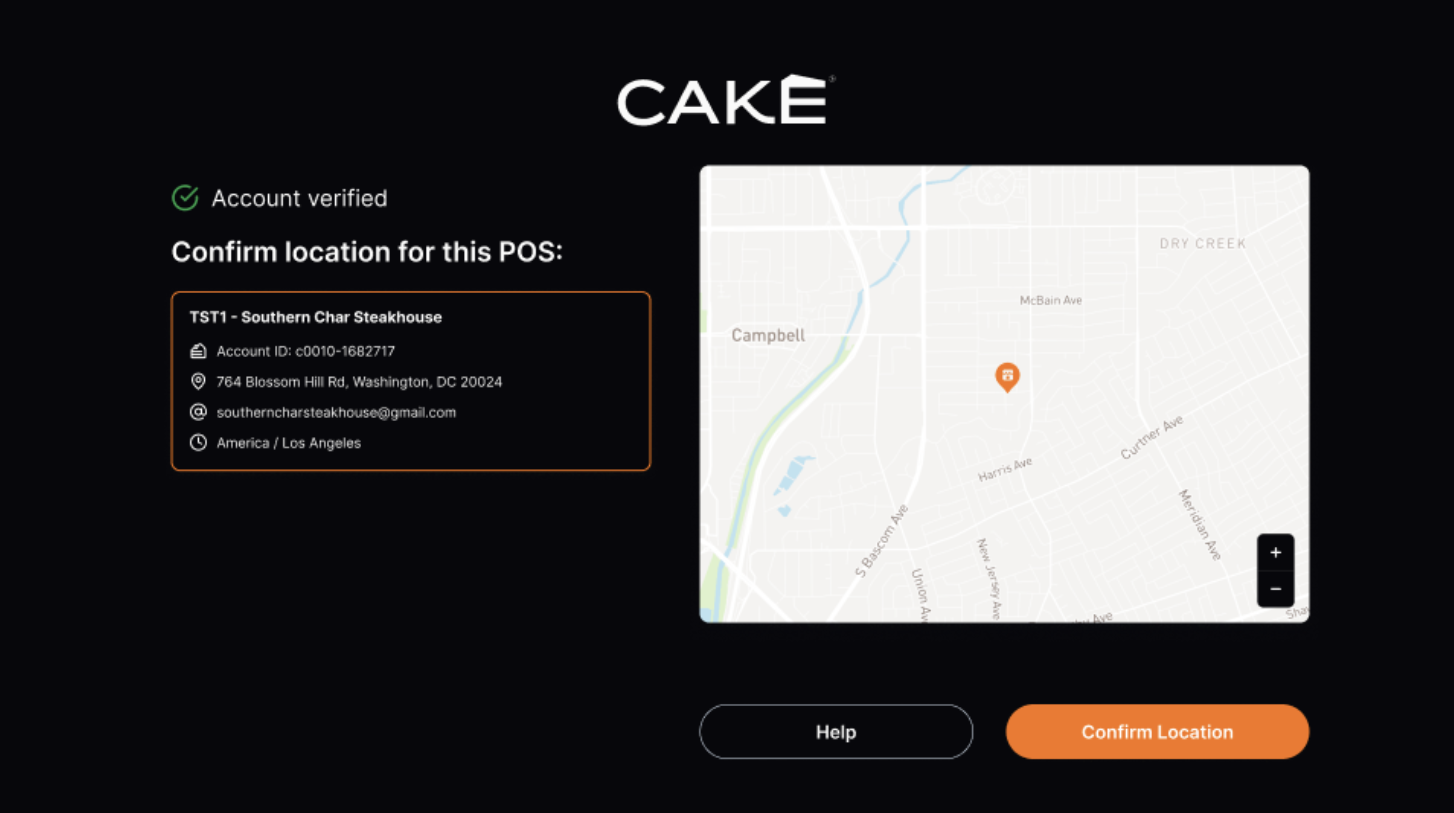
3. Confirm Your Location
After your phone number is verified, your account details—such as restaurant name, address, email, and time zone—will appear on screen.
Tap Confirm Location to proceed.
If something doesn’t look right, tap the Help button to get in touch with Support.
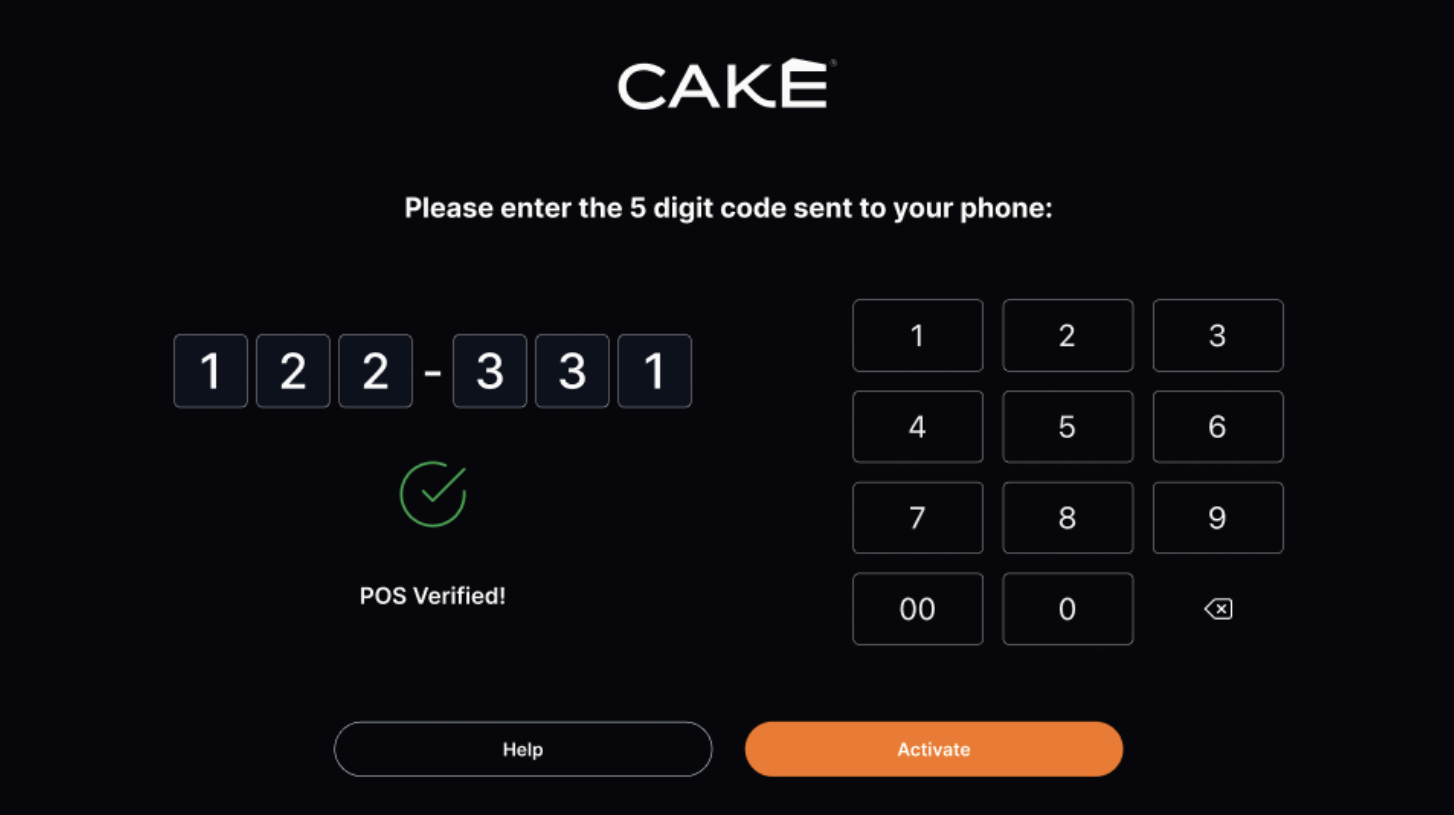
4. Enter the Activation Code
You’ll receive a 5-digit activation code via text. Enter the code into the POS terminal, then select Activate.
5. Activation Complete
Your POS will complete the setup and load your restaurant’s information. Once done, the screen will transition to the login screen.
Setting up multiple POS terminals? Repeat this process one at a time—each terminal requires its own activation.

Once your POS finishes booting up, you’ll see the Owner O. user on the screen.
Follow these steps to complete your first login:
- Select the Owner O. user.
- Enter the temporary password provided in your "CAKE POS Training Materials" email.
- You’ll be prompted to create a new 4-digit PIN.
- Enter and confirm your new PIN, then tap Save. This PIN will be used for all future logins.
Need help? Call CAKE Support at (352) 722-2253 for assistance.